Thursday, April 22, 2010

Medical Questions More Condition_symptoms

Construction of an acoustic guitar - the Assembly 1

Well, we're nearing the end of this process - the assembly of all parts and complete the instrument.
The tool assembly is generally much more "faster" than making all the pieces since it basically is "putting together a puzzle."

This stage is going to publish in two parts because it is very long and has lots of pictures.

As I said earlier, this instrument is built basing on the English method and therefore the assembly begins by attaching the handle to the soundboard.

Before joining you will place the rings contrafajas to them and I made the inserts for each bar of the soundboard.


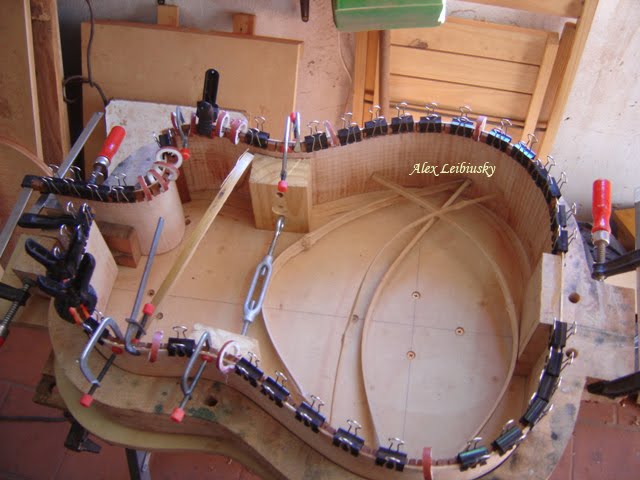
Now if we add the rings ...

then we can see a handle, top and sides together:
and now with the surplus and lowered:

back into the "mold" will place the fund contrafajas:

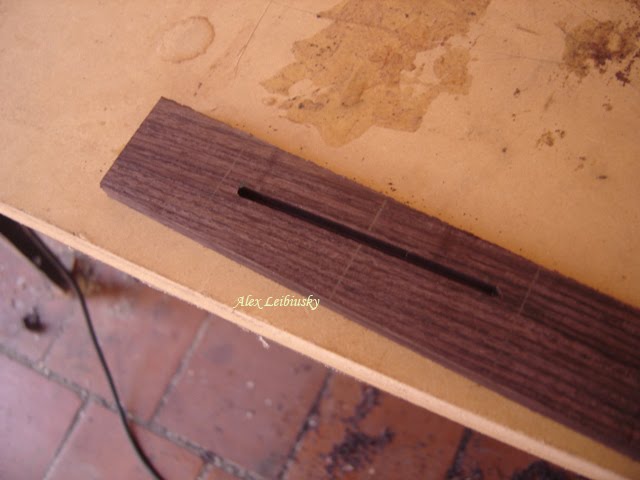
at this stage, taking advantage of the instrument is still open, we present the system Fishman and set its base to facilitate placement after final
now glued the bottom and closed the instrument case:
the fund with the remaining concessions:

with small and powerful router Makita I made the recesses for inlay:


present and then glue the inlay:


marquetry detail in the taco:


Well, that was all for today . in a few days upon termination of combining the rest of the photos, post the final part of this work.
be up next! Alex
Leibiusky

Saturday, April 17, 2010

Sympathy Regarding Termination Of Employment

Greets country at dusk-2010

Sunday, April 11, 2010

Autoimmune Hepatitis More Condition_symptoms

Construction of an acoustic guitar -

Good, good ... After a long silence I will resume postings on the construction of this guitar. I apologize for my long absence and hope to complete this project soon.

This time we will see the construction of the bridge.

The wood used for this bridge: Rosewood from India to buy in Vendome few years ago. in this case it came in a small block of about 20cm x 3cm x 1.5cm.

first make the bridge as a template for a reference to the shape and measurements.


then I made the slot in which the bone then anger.
use the router for this small, he used to make the recesses of marquetry.
once made the slot (about 5 mm deep) cut the excess from both ends and let them square with the sides.

checking the action on the plane ...
bank with keyhole cut curves to approximate the shape.
there and we are closer ..
then with a small file and sandpaper cylinder in the drill press, finished defining the shape.
the form of the "wings" to gouge the work first and then with lime.
in this instance make the hole through which pass the pins that hold the strings.
the Bochita of the pins should be slightly below the surface of the bridge and for that I made a recess with a file / stone rotating in the drill press.
sanding
and now ...
usually bridges the term in a grain of sand in 2000 - 2500 and then polish with a wool cloth.
and now if .. we can say we have the bridge done!
in a few days I'll be posting the next chapter ...
greetings, Alex